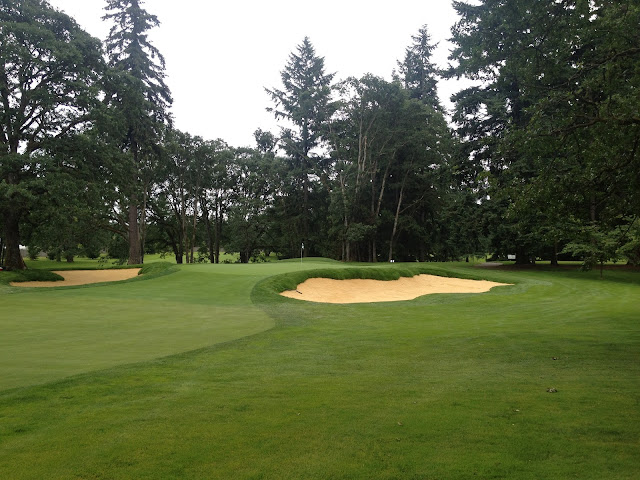
The first step was removing the sod around the area which would be disturbed by construction. Then the rough shaping was done to create the general shape of the bunker. We call this "hogging" out the bunker. Here is a short video of Kip hogging out the bunker on #16. This is the bunker were we found some of the wood stave pipe which was installed in 1923.
Once the rough shape of the bunker was established, the edge was carved in. This was the part that really was Kip's creativity in action. John guided the process but he really allowed Kip to just use his own judgement during this step. We call this "wacking" the bunker edge. Here is a video of "wacking" the bunker on #11 fairway.
Once the bunker was "wacked", the final finish was put on the bunker edge. It was at this moment when we really started to see the bullnose bunker lip developing. Here is a video of the finish work getting done by the Ridgetop Inc. guys on #6 greenside bunker.
Once the finish work was done. Drains were cut in and the bunker floor was cleaned out and prepared for sod. The sod was then installed and cut our over the drains.
Throughout the sodding process we used about 3000 staples.
Here is a short video of stapling the sod.
About 40,000 square feet of sod was laid to complete all 6 bunkers.
After all the sod was laid, it was just time to wait and let it root down. The weather for this whole process couldn't have been better. We had sunny dry conditions for construction and then once the sod hit the ground, it cooled off and seemed to drizzle every other day. Really at no time was the sod ever stressed out after that first hot day when we laid it.
Then Kip Kalbrenner and Ridgetop Inc. came in to install the sand. His special dump trucks moved the sand in and then the crew hand spread it to ensure proper depth was maintained throughout the process. Here is a video of that action.
The same truck you see here dumping sand is the same machine used to roll out and compact the sand once the right amount of sand was installed. Once rolled, everyone chipped in and worked the sand by hand to get it really smooth.
So there you have it......and now we have it. 6 new bunkers that is, and they are works of art.


No comments:
Post a Comment